

Uploading Photos
More options
 Discuss with Marie
Uploading Photos
Upload photos from your computer to the open folder and immediately set tags and licenses for them.
Photos are uploaded to the folder you currently have open. The settings you choose during upload apply to all photos in the batch.
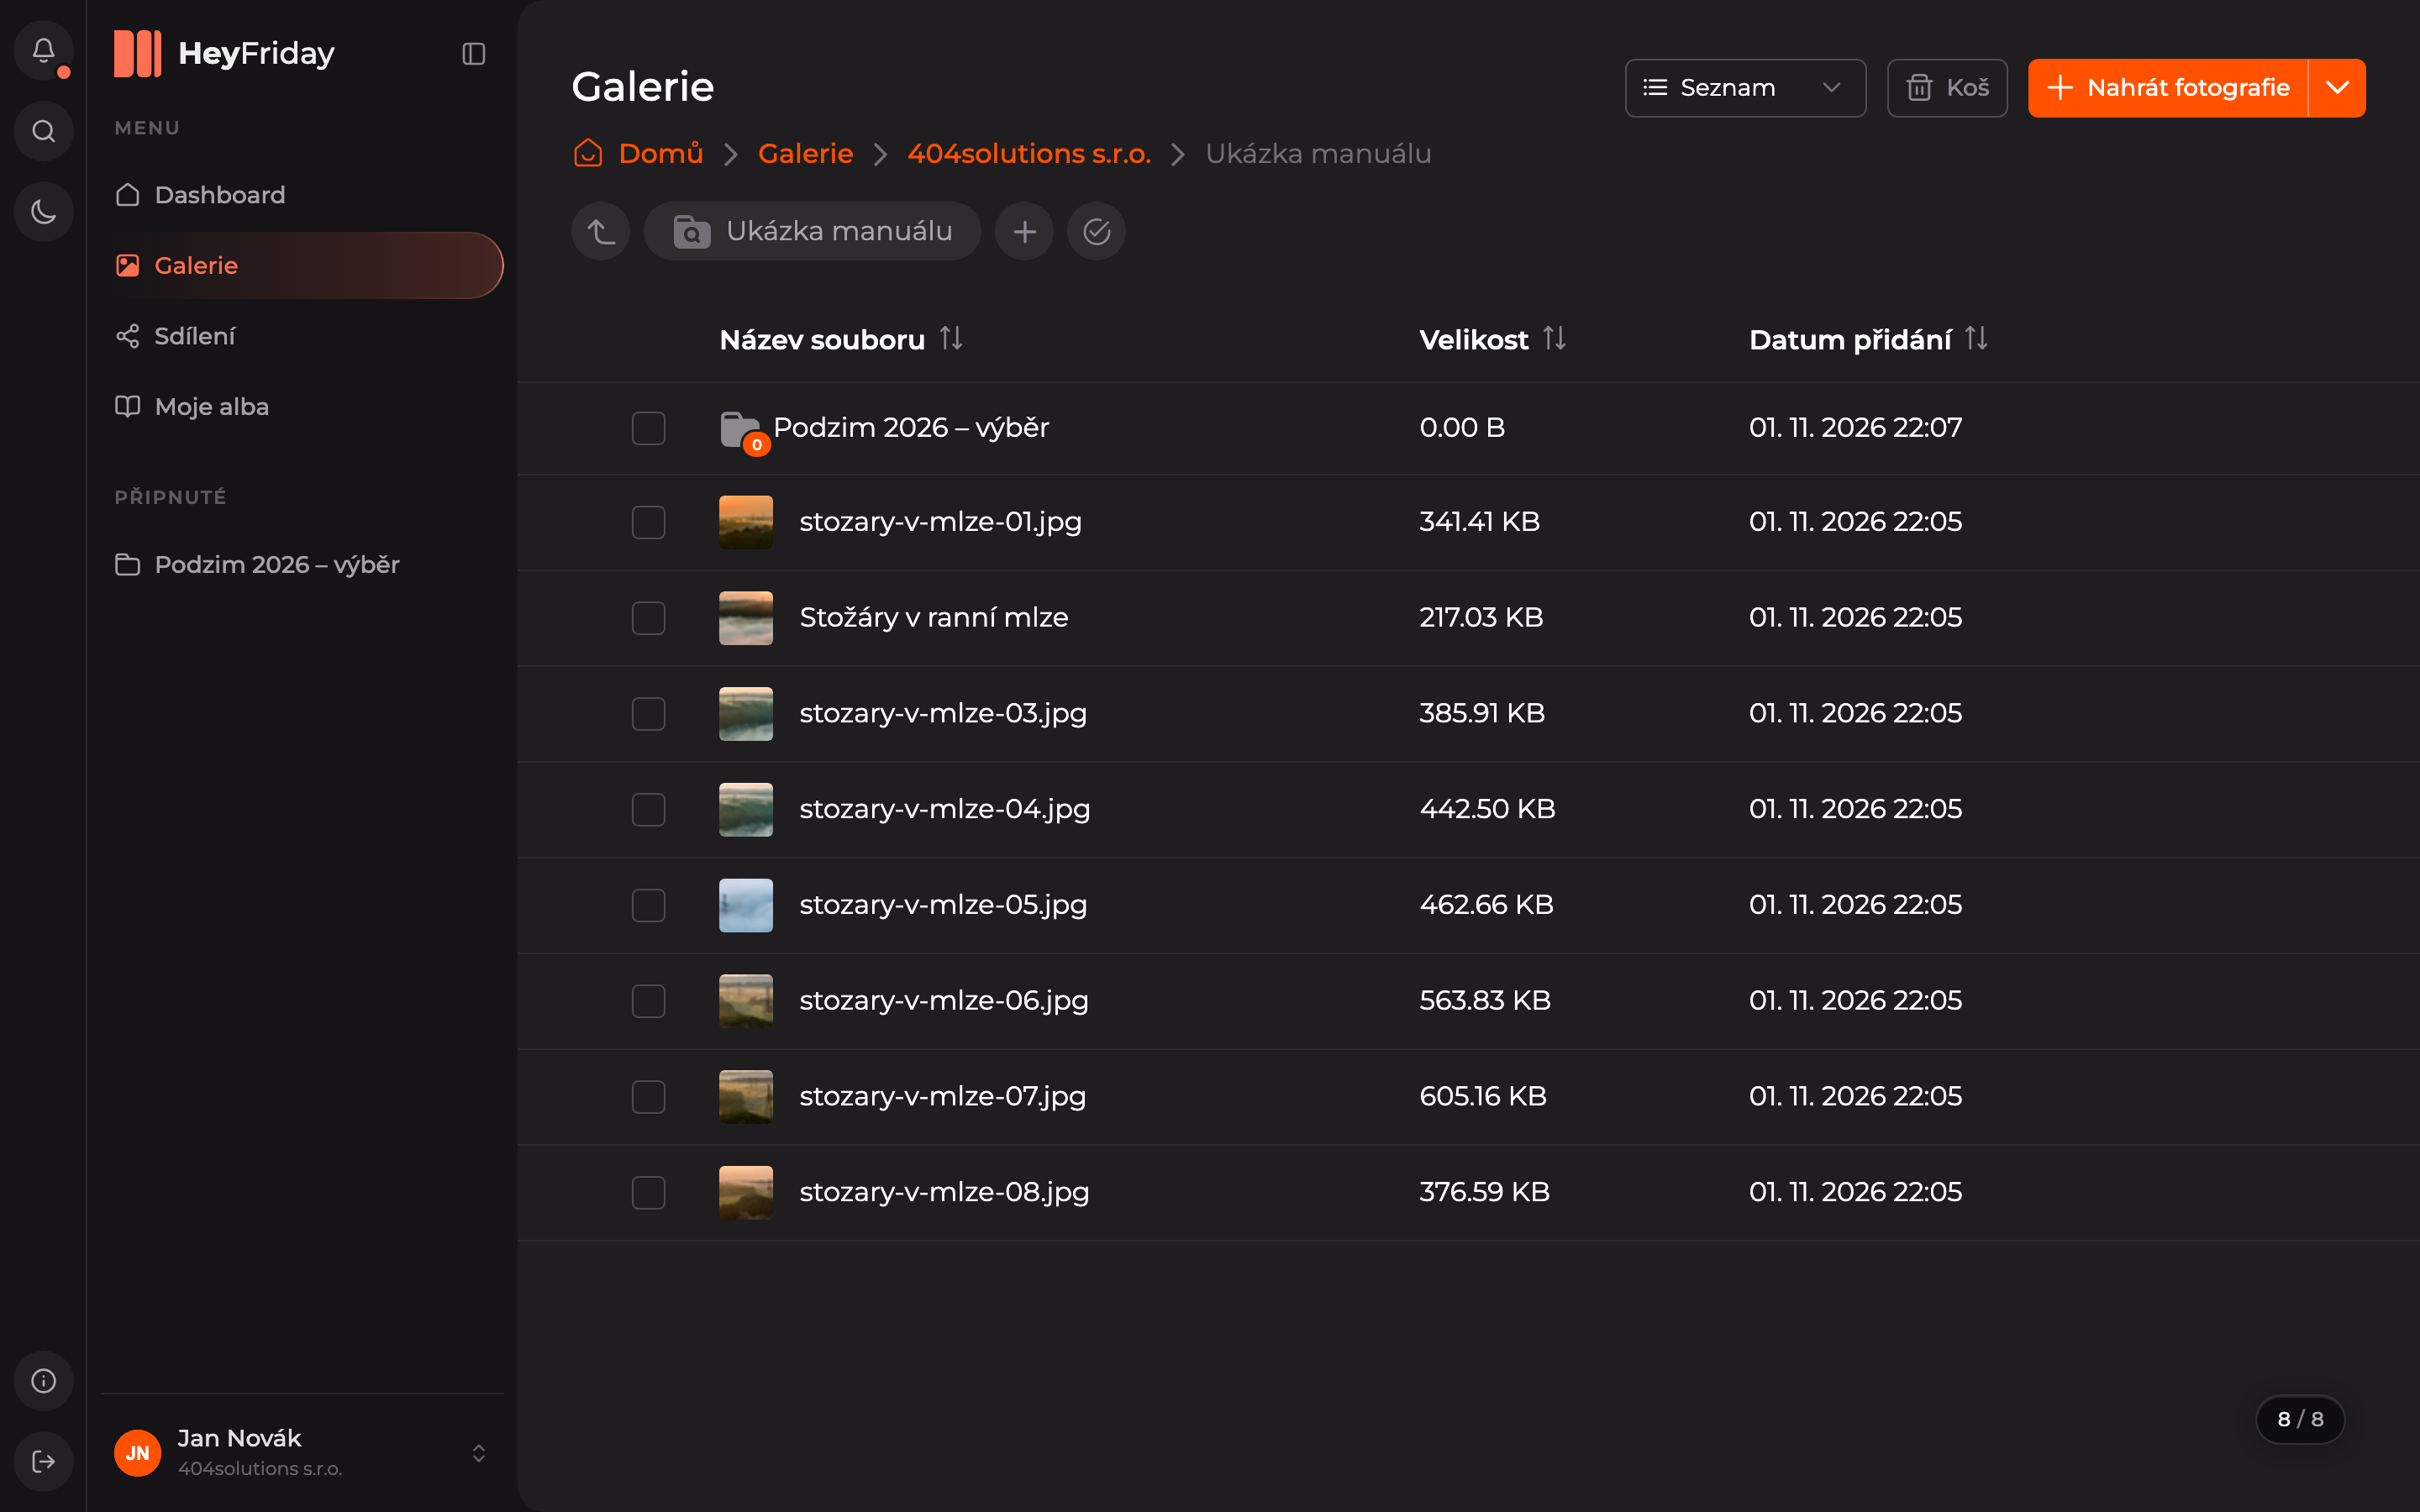
Open Upload
Click Upload Photos at the top right.
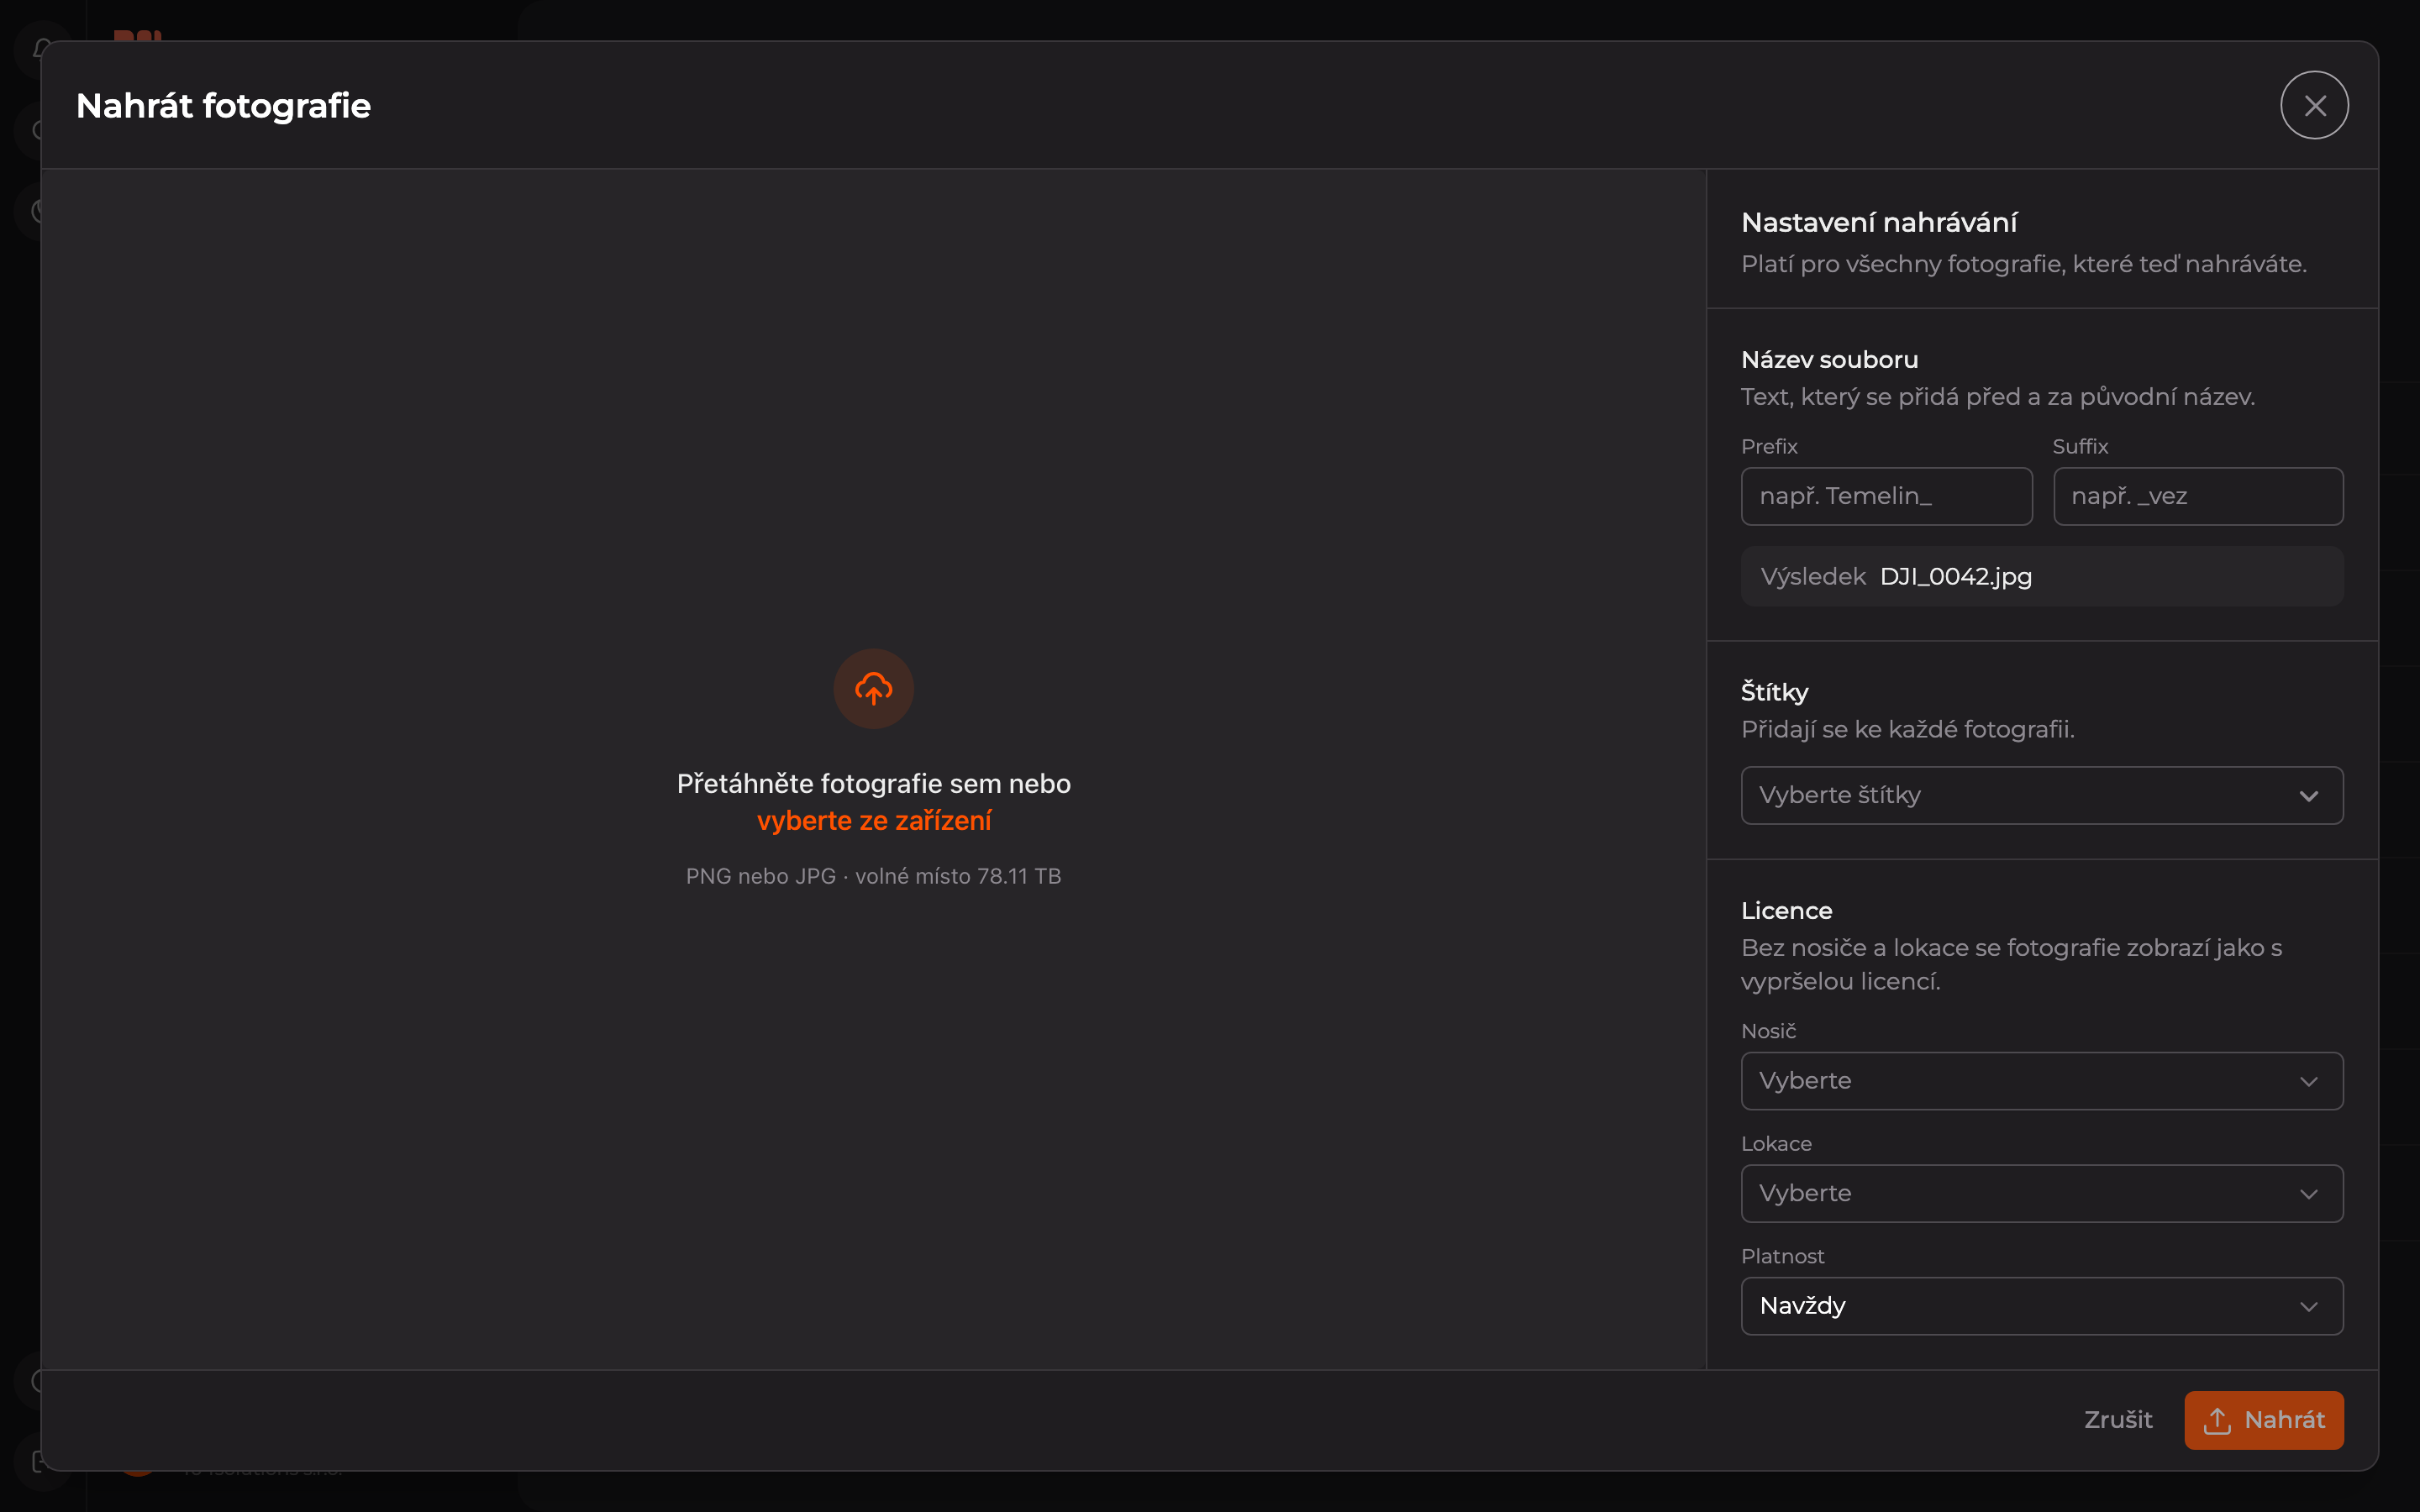
Select Photos
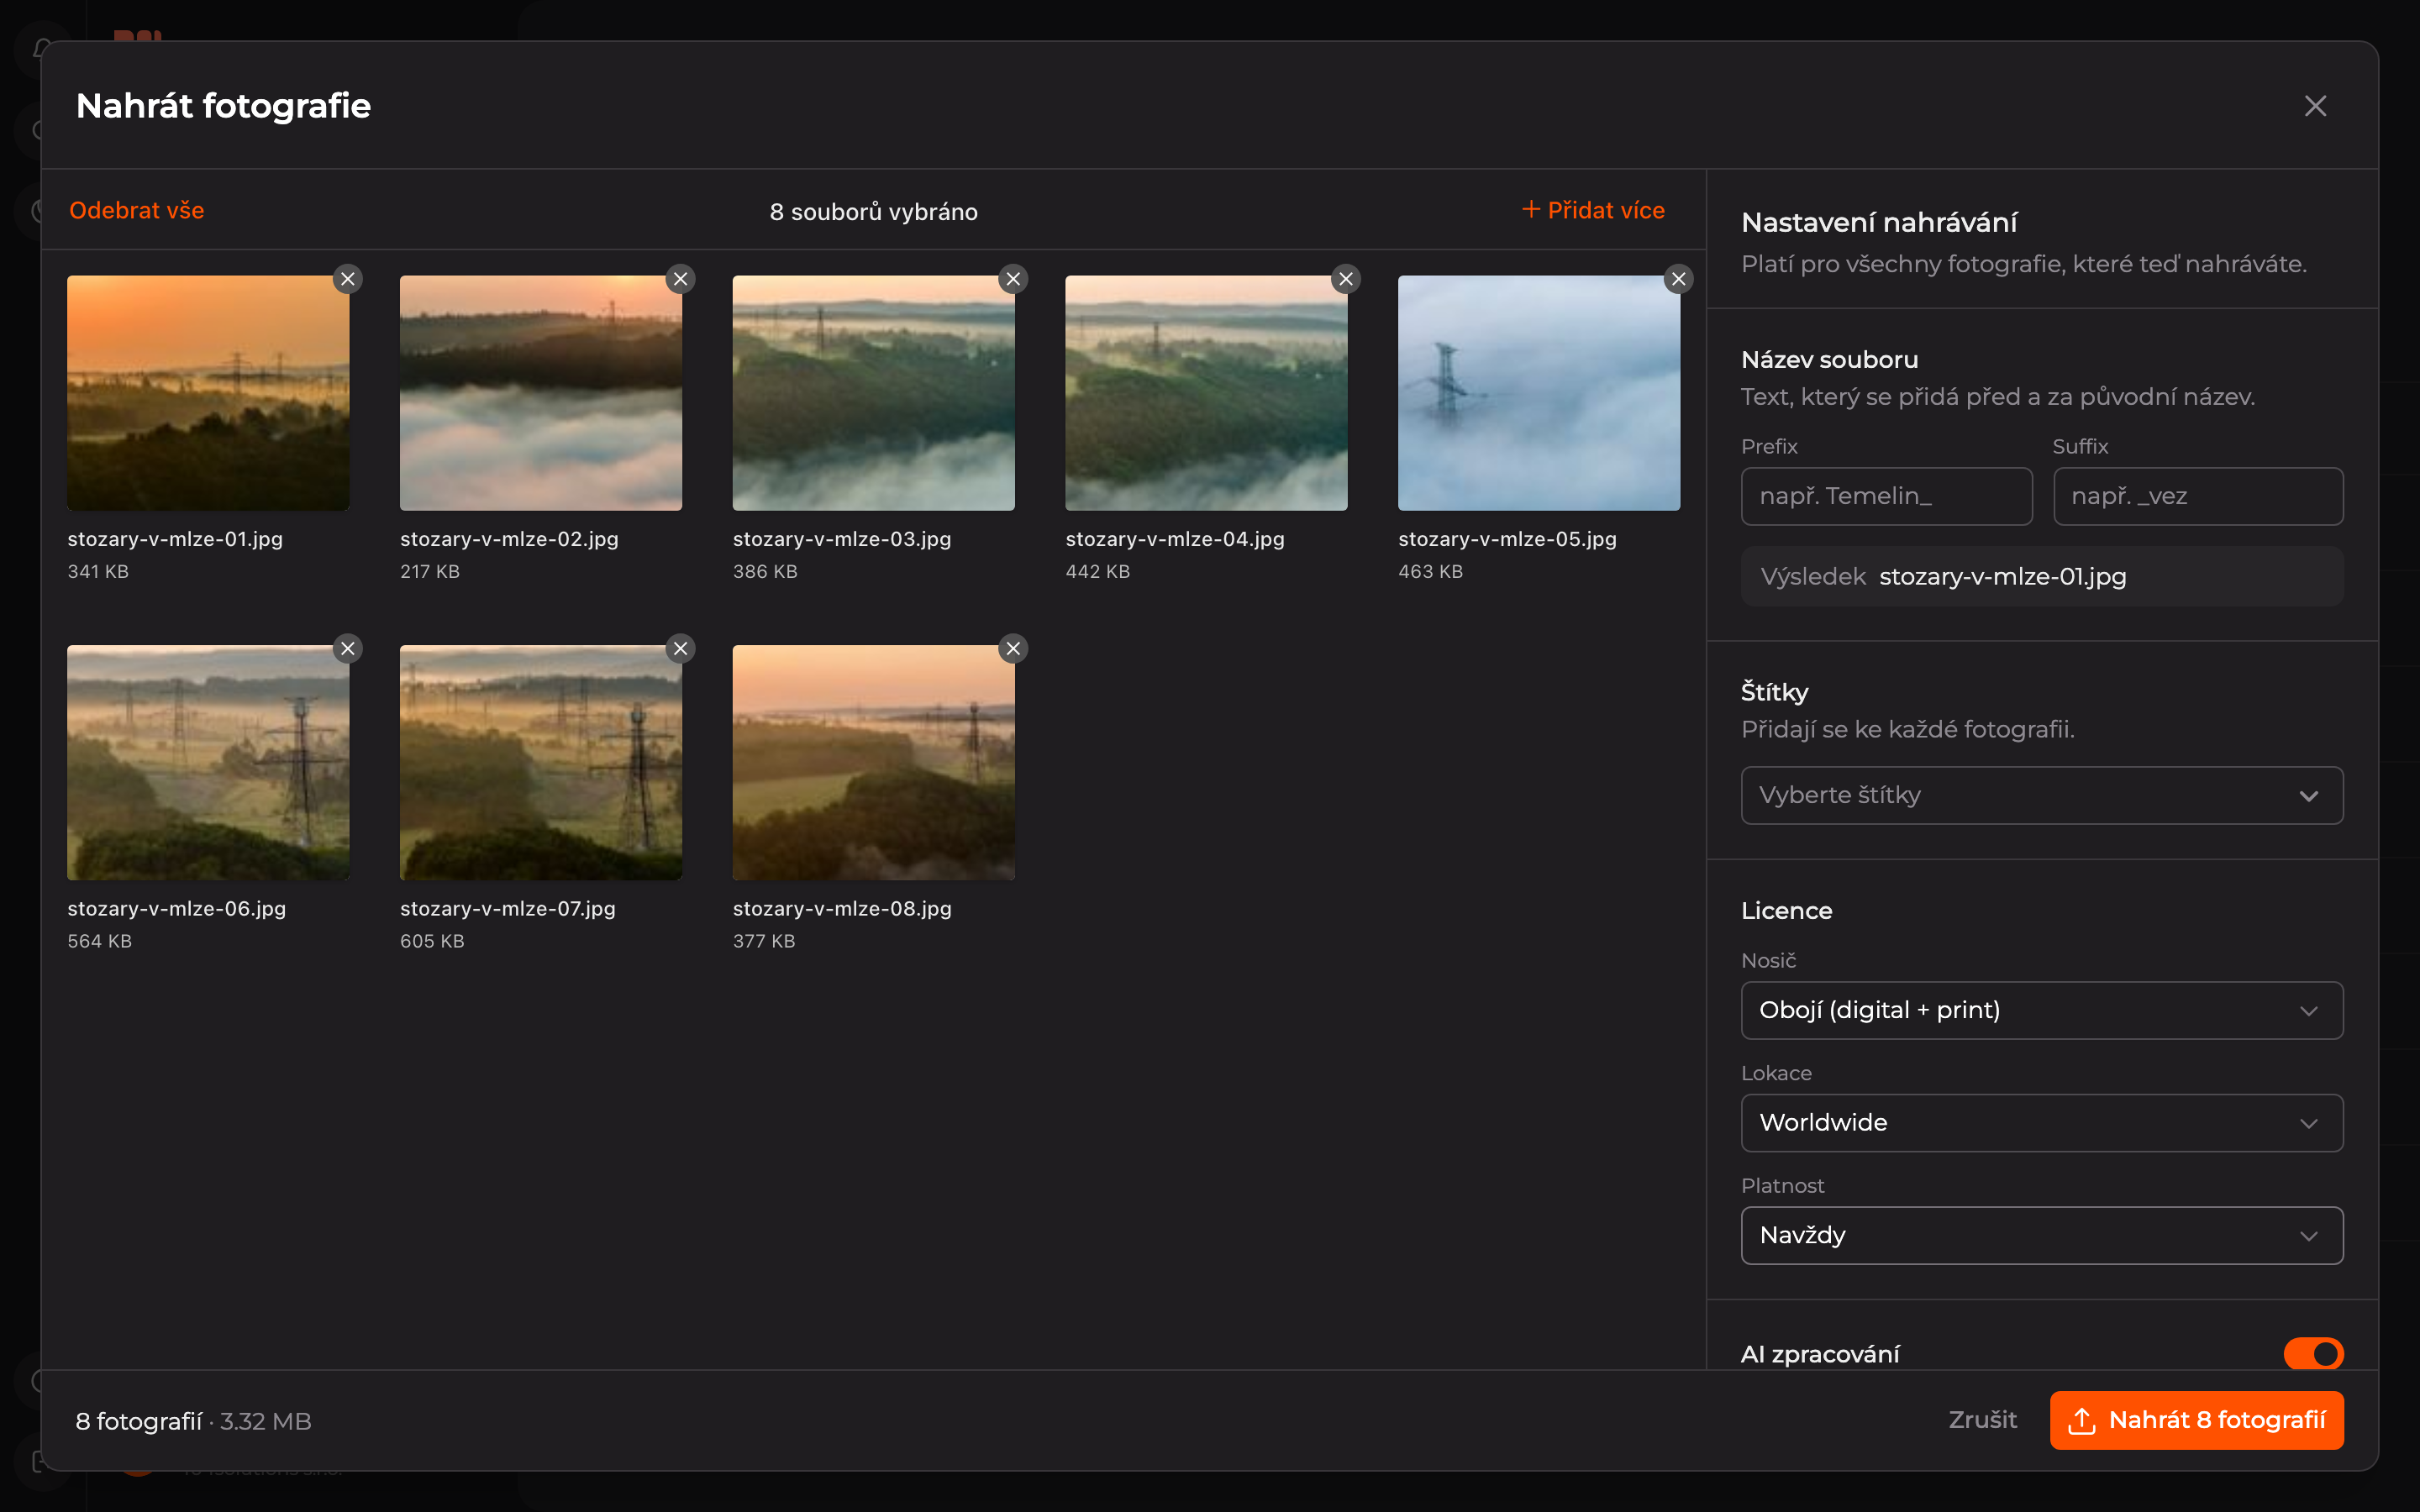
Drag photos into the window, or click select from device and choose them on your computer. You can upload PNG and JPG files. Below the link, you see how much free space your organization has left.
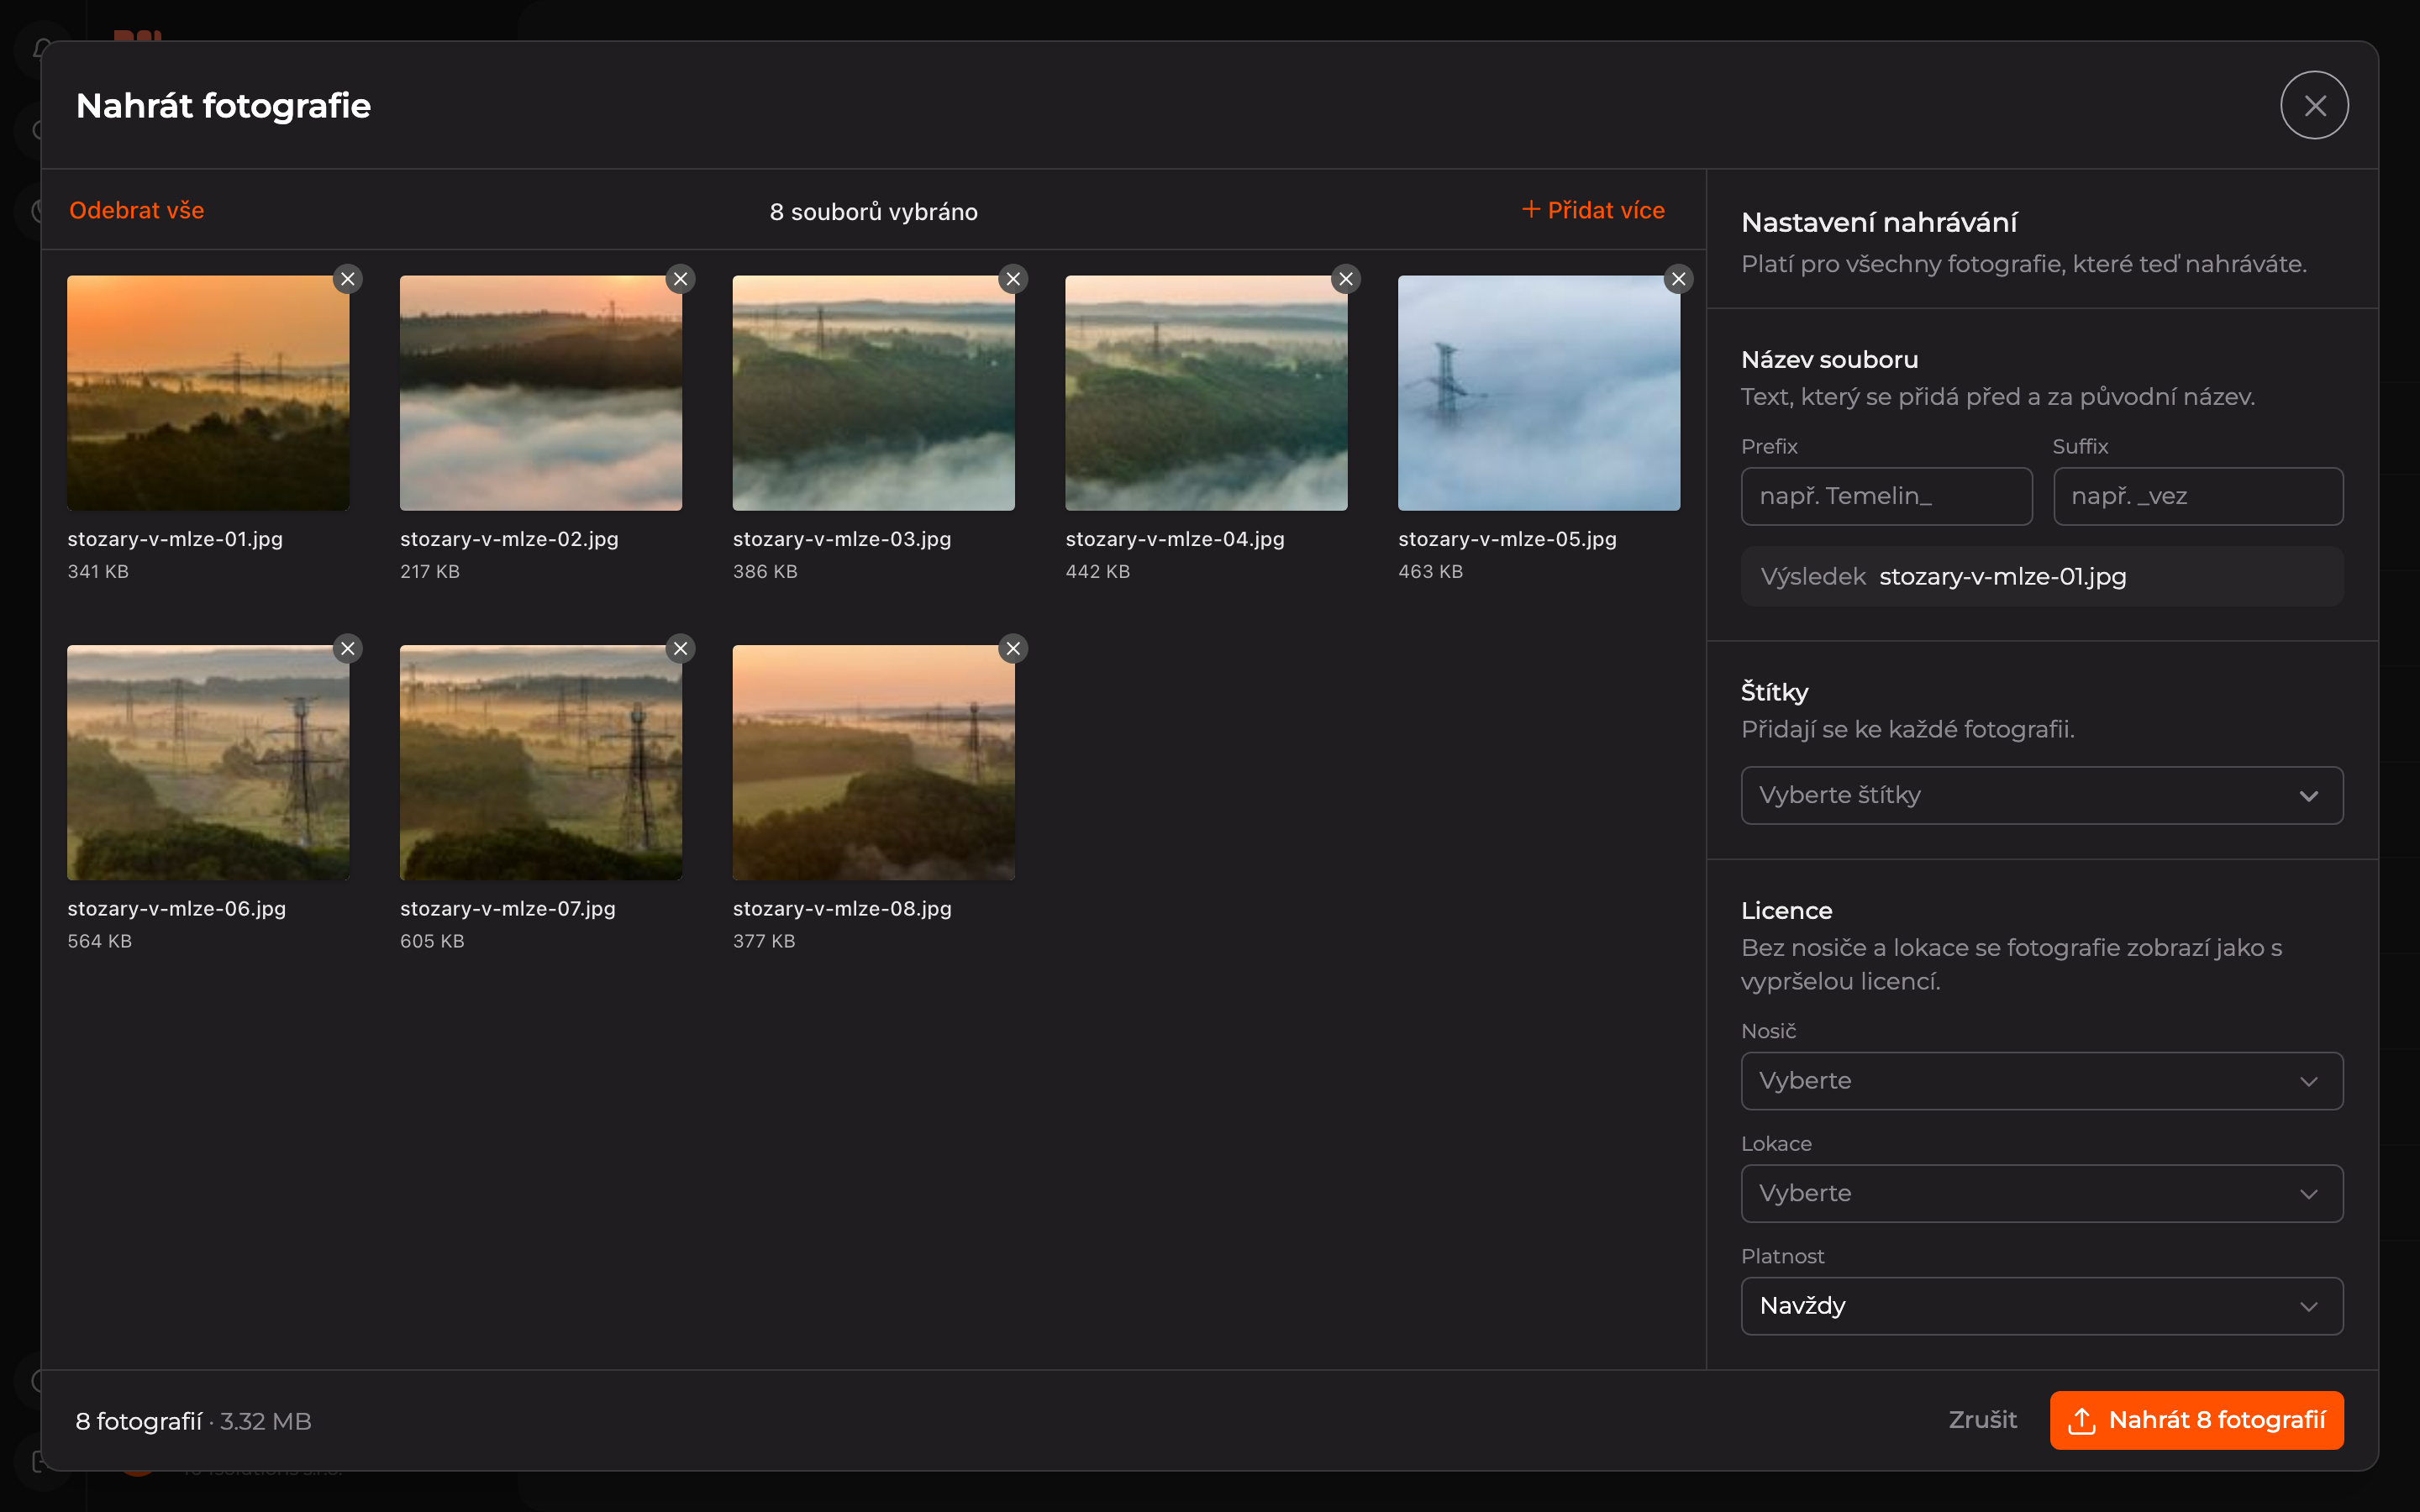
Review Selection
You see selected photos as thumbnails. Click the cross in the corner of a thumbnail to remove that photo from the selection, Remove All clears the selection, and Add More adds more photos.
Set Upload Options
In the Upload Settings panel on the right, you can set:
- File Name — text added before (Prefix) and after (Suffix) the original name. The Result line shows how the name will look.
- Tags — added to every photo.
- License — Carrier (where the photo may be used), Location (where), and Validity (how long).
- AI Processing — when enabled, AI creates a description of the photo and suggests tags. It’s lower in the panel.
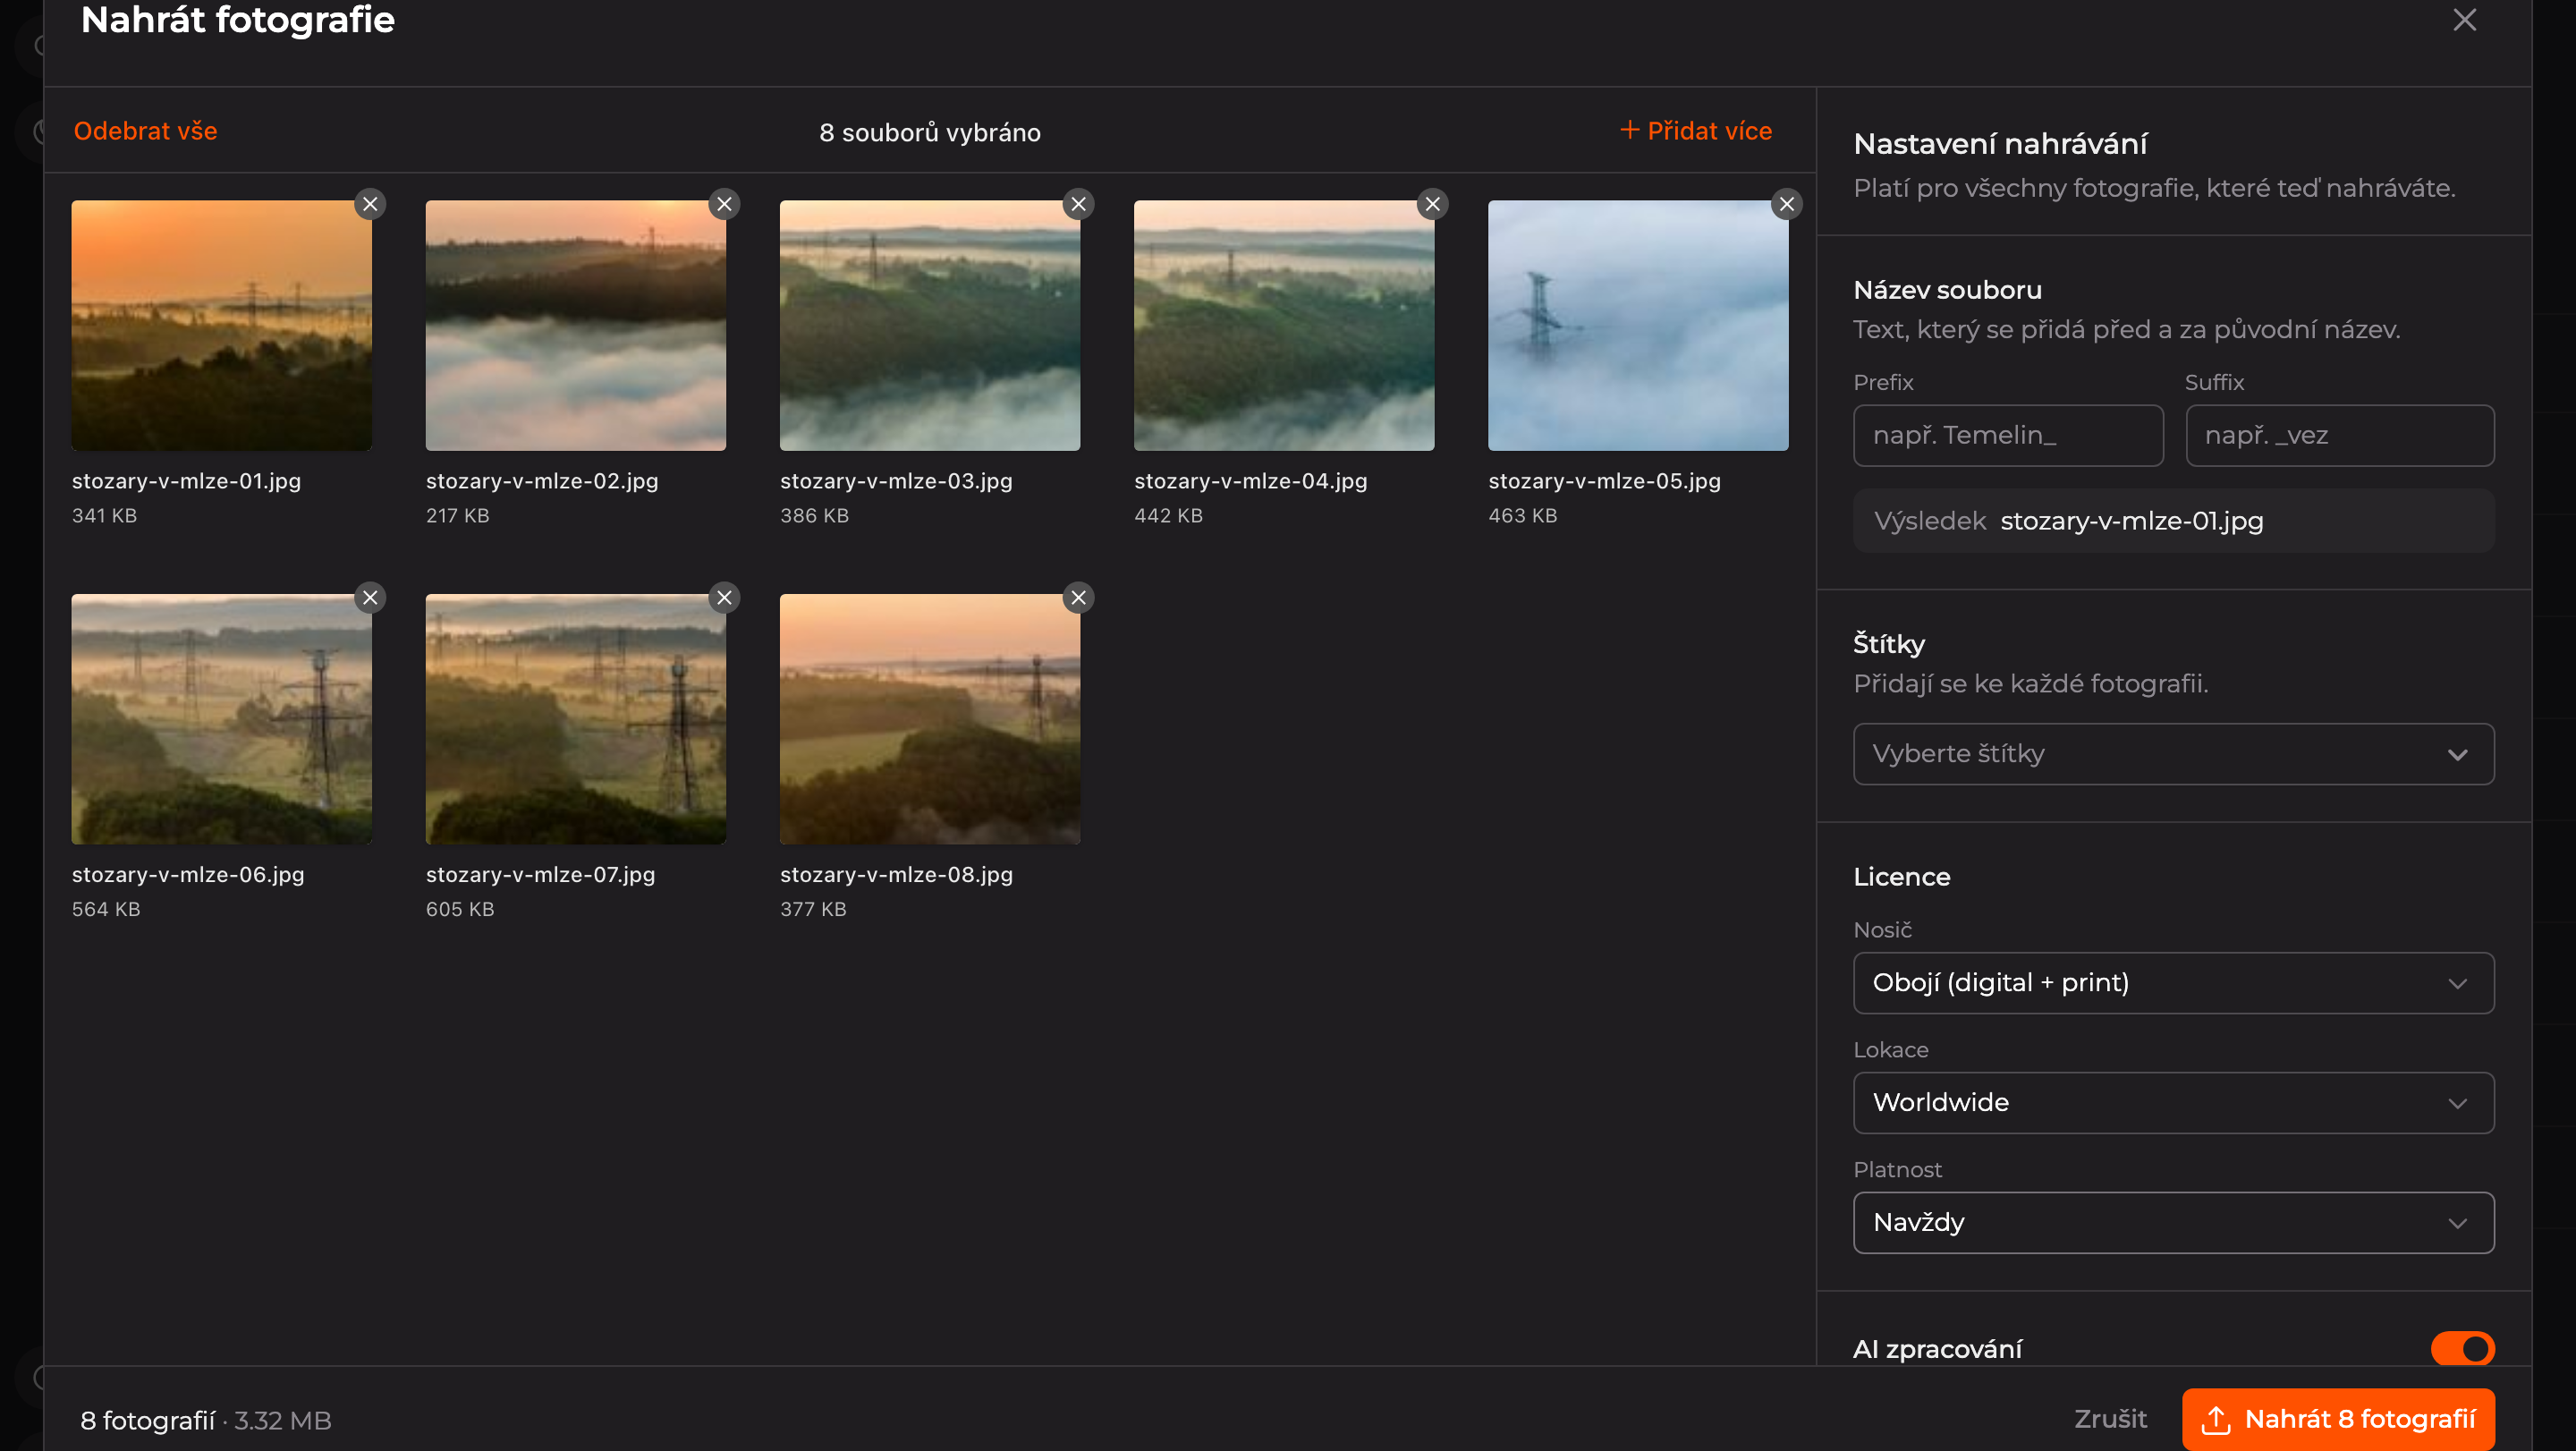
Important: without filling in Carrier and Location, photos will appear as having expired licenses. More in Photo License.
Start Upload
Click Upload with the number of photos at the bottom right, for example Upload 8 Photos.
Wait for Completion
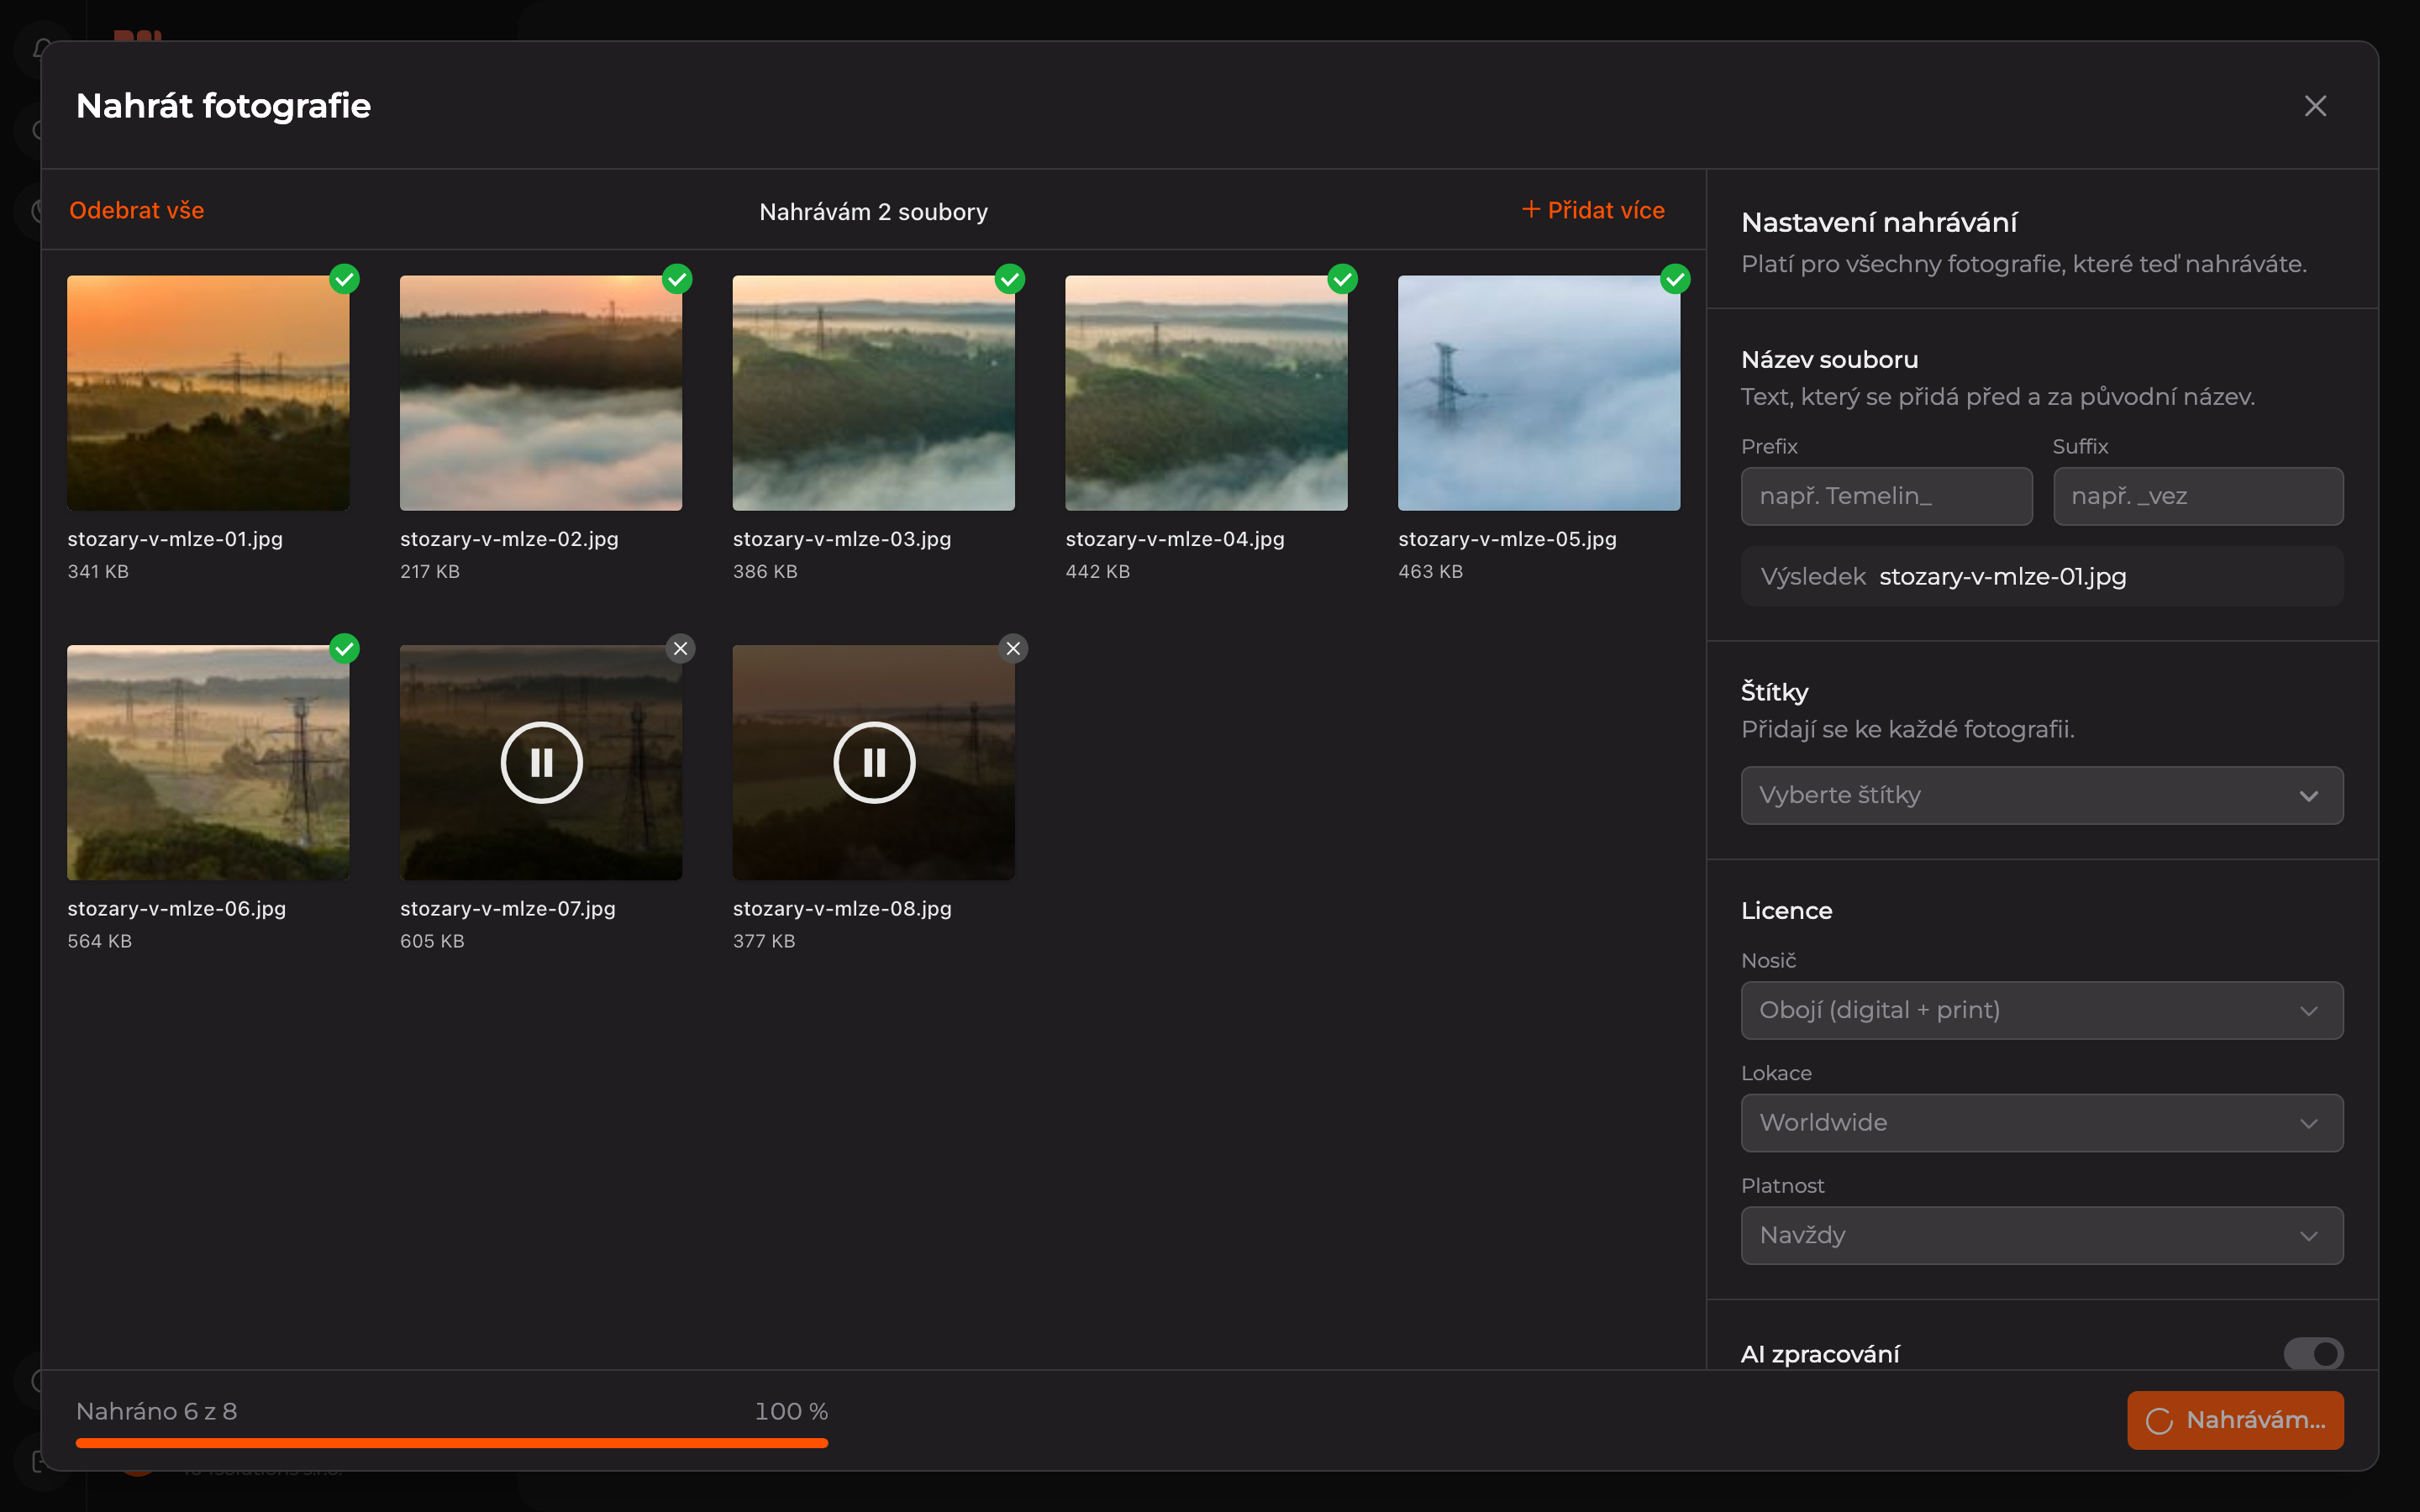
At the bottom of the window, you see progress (Uploaded 6 of 8). Uploaded photos have a green checkmark.
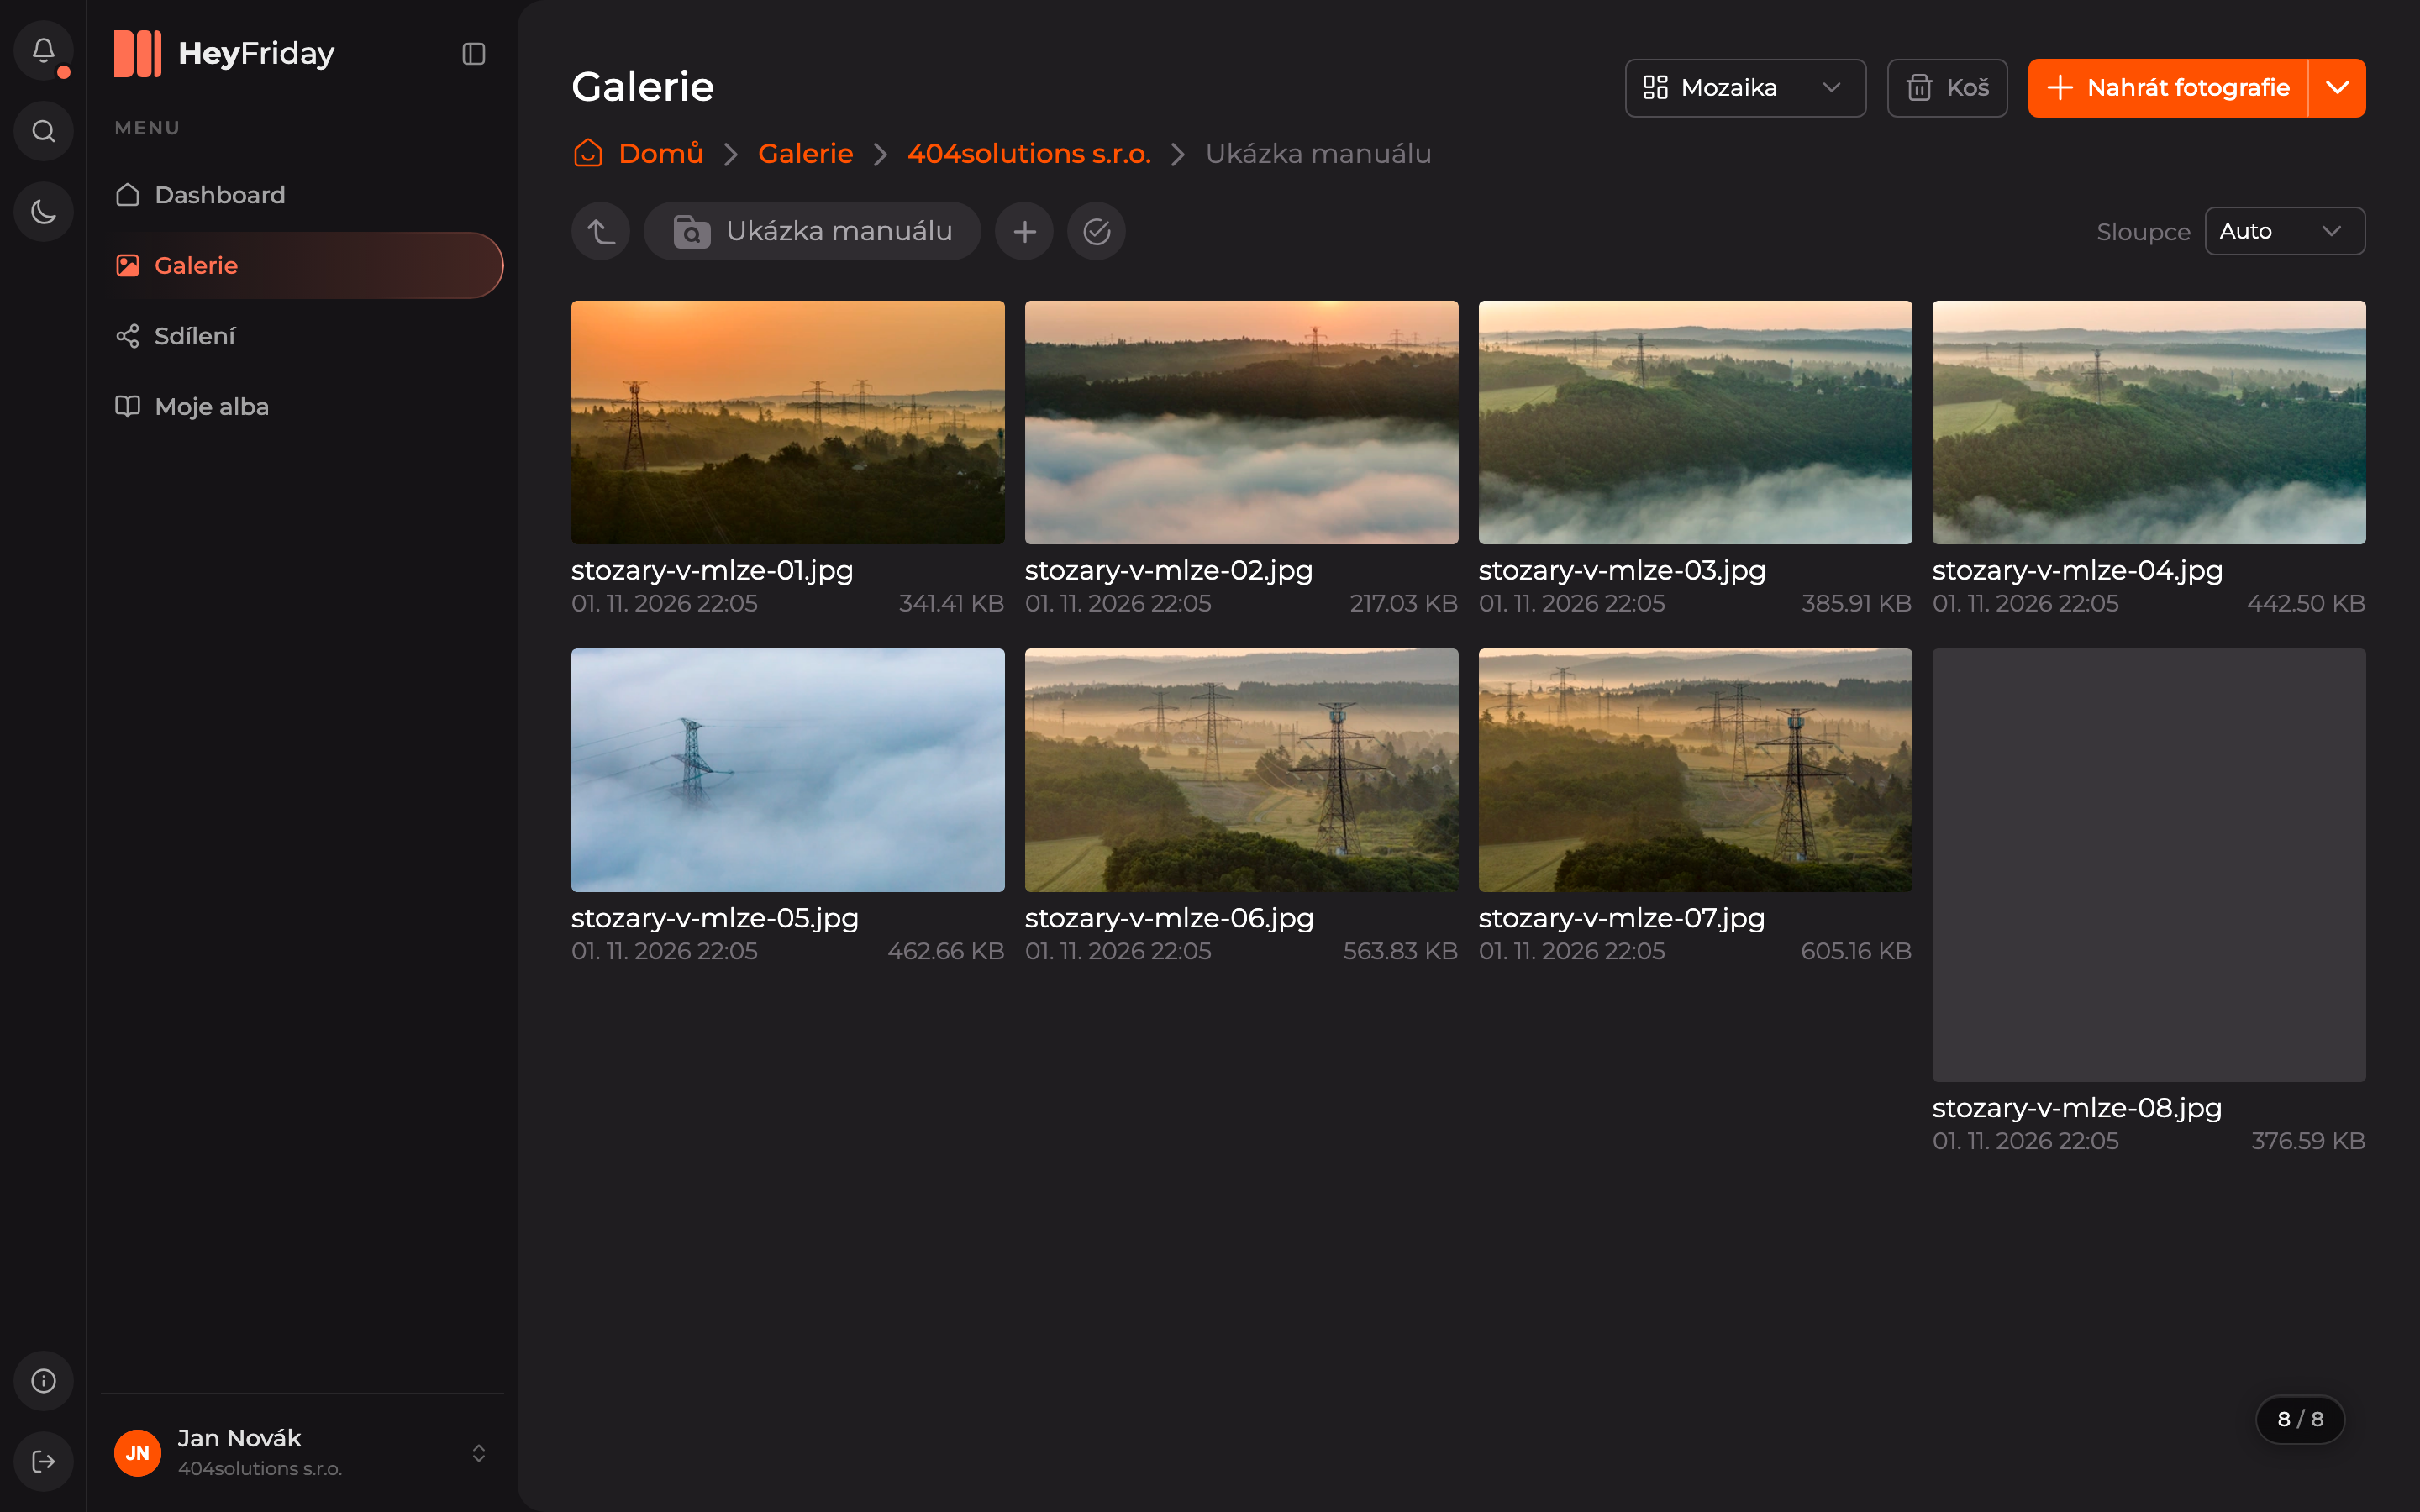
Photos are in the folder. Thumbnails, descriptions, and tags will be added shortly as AI processes them — you can track progress in the processing queue.
Updated